Your guide to the Celestine Waterfall Hike, Chiquiri, Panama
The Celestine Waterfall in Panama is one of my favourite hidden gems. Only a couple of minutes from the road, the Celestine Waterfall (Cascada Celestine) is still so well hidden that it can be tough to find if you don’t know where to look. But don’t worry, we have the map! Read all about the Celestine Waterfall in Chiriqui, Panama below.
WHY VISIT CELESTINE WATERFALL?
The Celestine Waterfall was one of my favourite waterfalls in Central America.
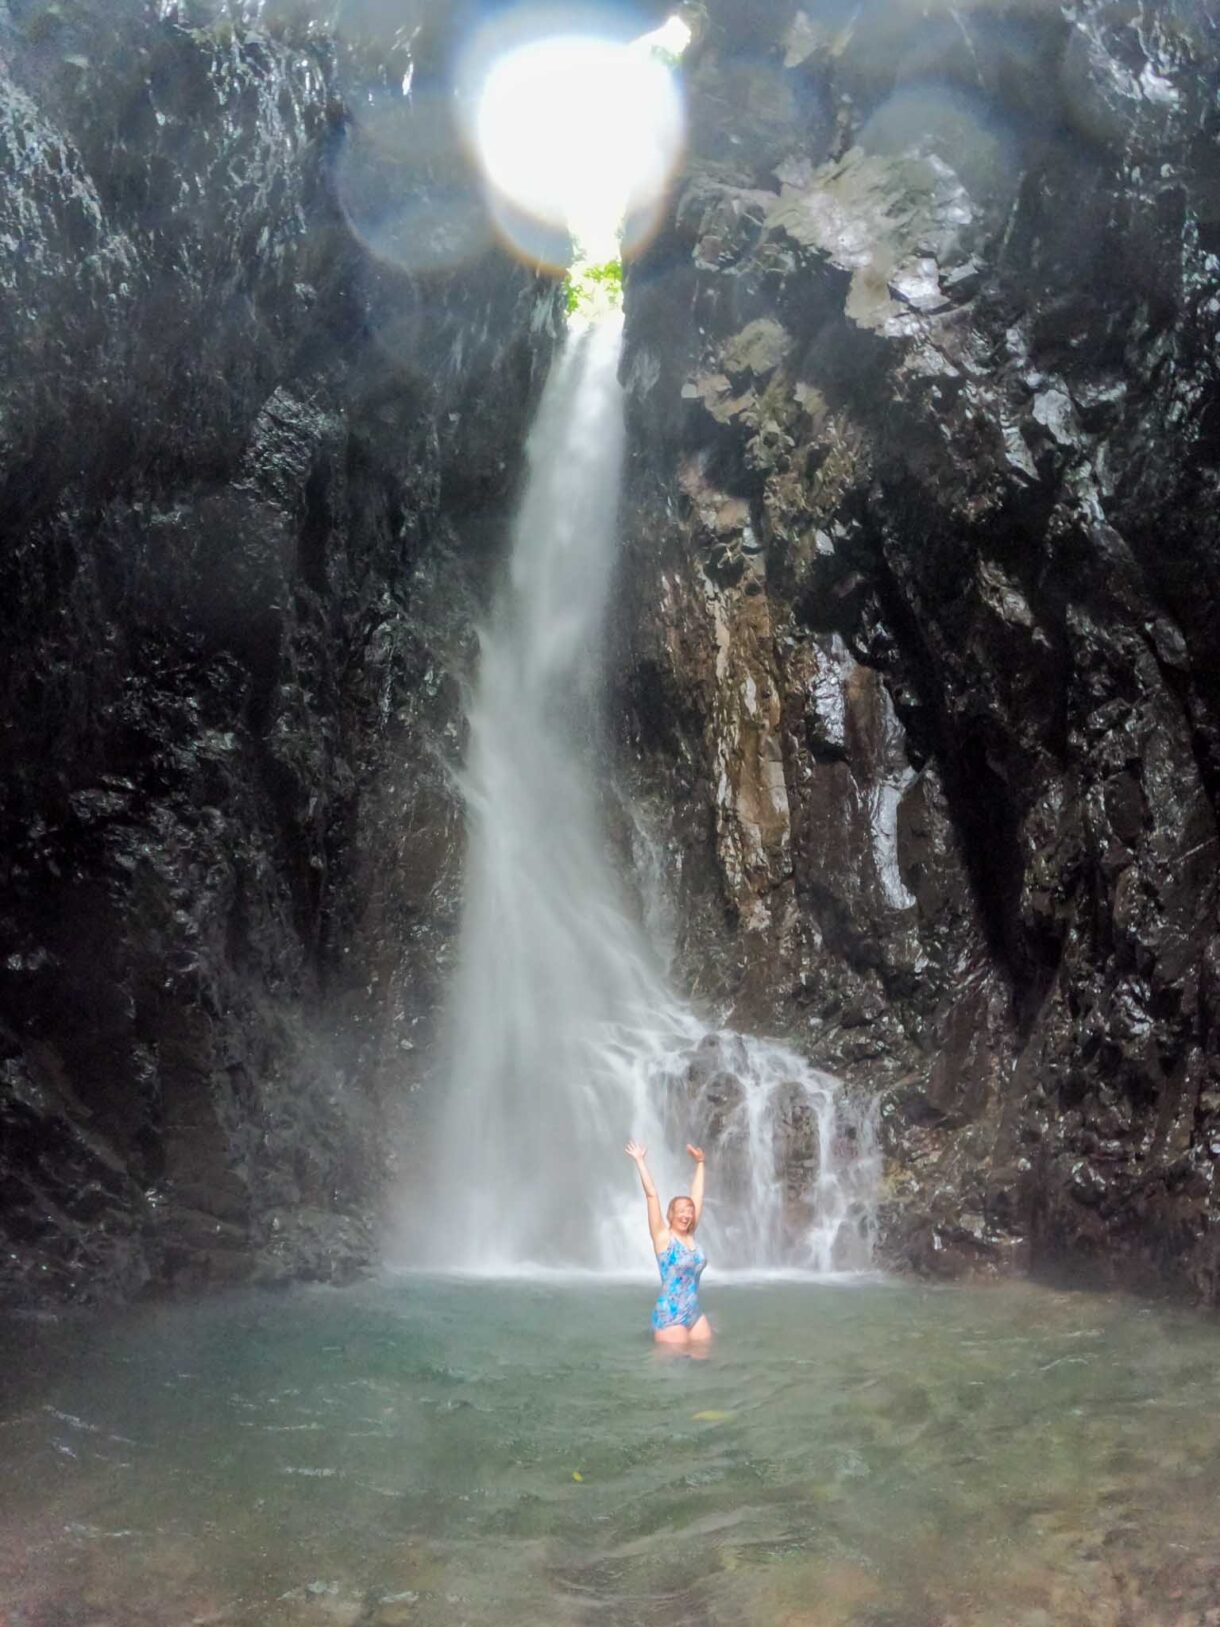
Located at the end of a high, narrow canyon, the 30 metre Celestine Waterfall is one of the hidden jewels of the Palo Seco National Park.
Cascada Celestine feels different and special. There are no other tourists there. Just you, the sound of rushing water, and the whisper of lush, green leaves, stirred by the wind. It’s also a real adventure in getting there, climbing and wading through the boulder-strewn river to reach a canyon with walls so high that the sun’s beams can only penetrate at midday.
Either way, it’s awesome! But, despite being marked on Google Maps, the Celestine Waterfall still takes some dedication to track down. I’ll do my best to explain everything you need to know to enjoy the Celestine Waterfall hike, including what to wear (spoiler alert, you may get wet) and expected costs so you don’t get ripped off!
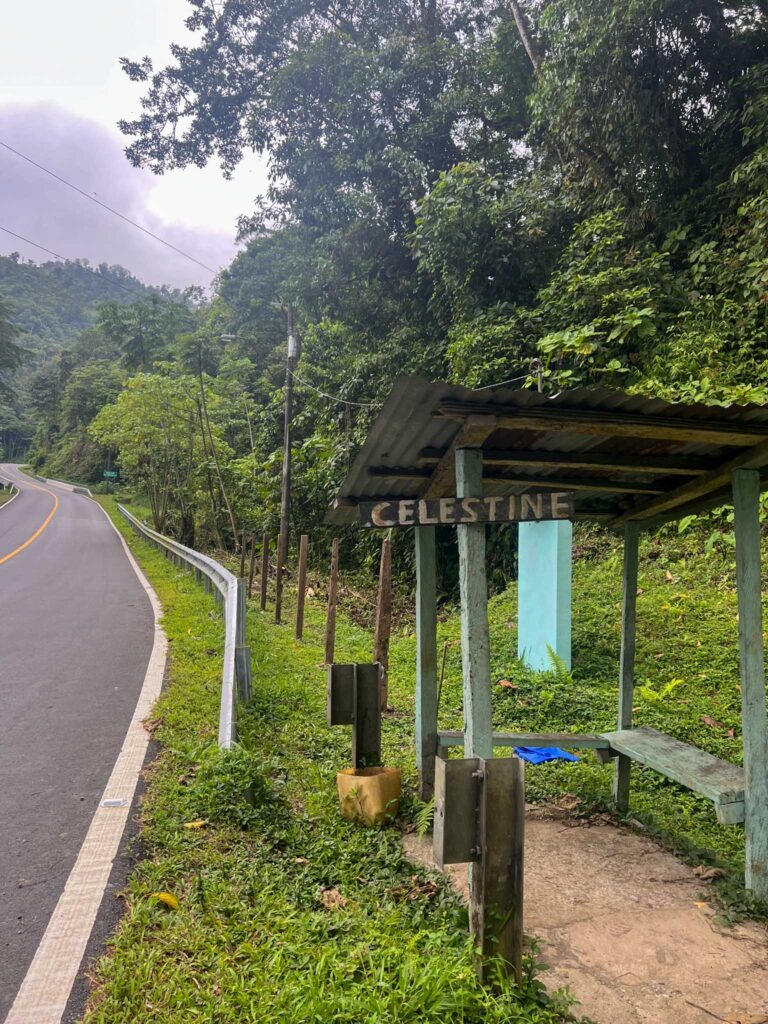
Get off at this bus stop, head behind the barrier and down to the river
HOW TO GET TO CELESTINE WATERFALL?
Celestine Waterfall is a bit tricky to find (and left us stranded in a thunderstorm for 3 hours waiting for a bus back!) but it’s so worth it.
This hike is best done whilst staying at the coolest hostel in Central America, the Lost and Found Hostel. But if you’re travelling any of the following routes, you will pass the hidden entrance to the waterfall and can make a stop:
- Panama City to David
- Panama City to Bocas del Toro
- Panama City to Boquete
The bus should cost $2 USD each way. Lost and Found seemed to have an agreement with the bus drivers to only fleece tourists a little bit. Bus drivers like to extort extra so if they try to charge you more than ~$2 USD, stand firm!
You’ll get off the bus next to a little blue bus stop with a hand painted sign that reads ‘Celestine’. This is your landmark.
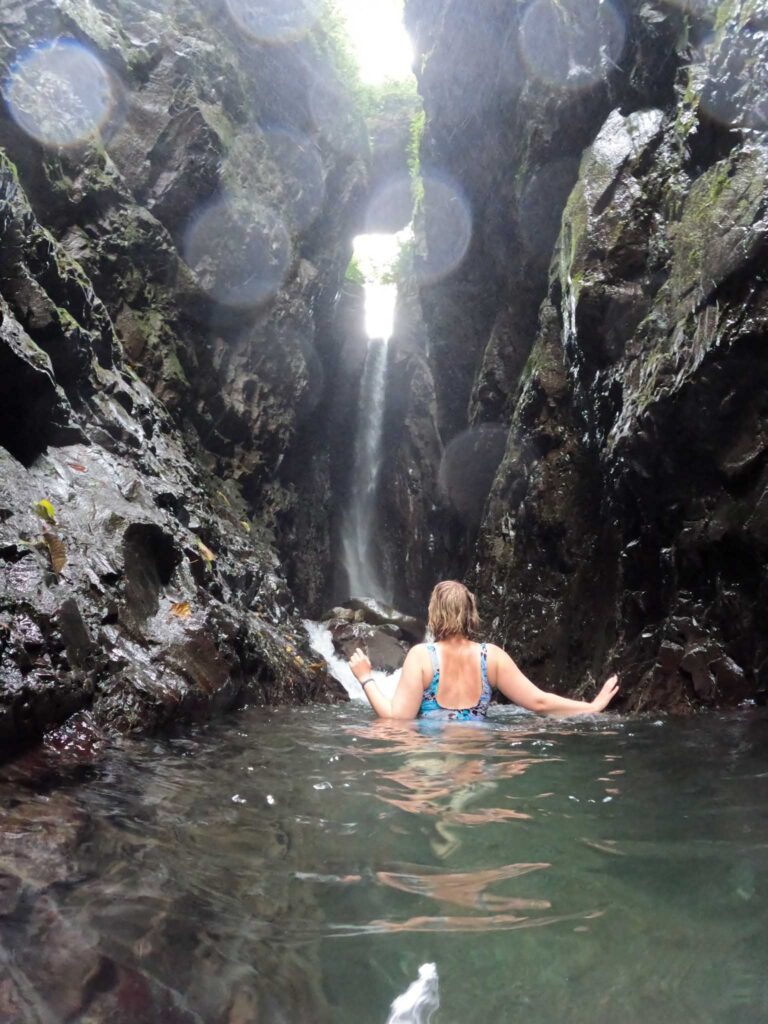
You will have to climb, paddle, and swim through the river
HOW TO HIKE TO CELESTINE WATERFALL?
The ‘hike’ to Celestine Waterfall isn’t long, so take your time. From the bus stop, head back up the road a little, clamber over the guard rail, and follow the trail down to the river. Then, slip off your shoes and follow the river upstream to the waterfall!
Throughout the trek, you’ll need to clamber over boulders, paddle through the river, and potentially wade through pools of water. Be careful, as sometimes the rocks and river can be slippery.
The height of the water depends on how rainy it’s been. When I hiked to Celestine Waterfall, the wet season hadn’t really kicked in yet but still, the water came up to our chests. That said, it was hot, so we enjoyed the swimming and splashing around.
Eventually, you’ll reach the end of a tall, narrow canyon with the impressive 30 metre (~100 ft) waterfall! You can walk closer if you like, before the spray of the water gets uncomfortable. Enjoy!
HOW TO GET BACK TO LOST AND FOUND HOSTEL
Head back the way you came and wait at the small wooden ‘bus hut’. Wait for a bus to drive by, then stick out your arm, or wave to attract attention. Buses are fairly frequent on this route, roughly every 30 mins (every hour on Wednesdays). There’s only one road, so all buses in the direction back will drive by the Lost and Found hostel.
It shouldn’t be more than another $2 USD to get back to Lost and Found.
Top tip: Buses going back towards David are frequent, every ~30 minutes or so, but they won’t stop if they’re full. And, as we found out, hitchhiking isn’t really a thing in Panama! Plan your trip for a morning and leave plenty of time to get back to the Lost and Found. It might help to get the contact details of someone at the hostel in case of an emergency.
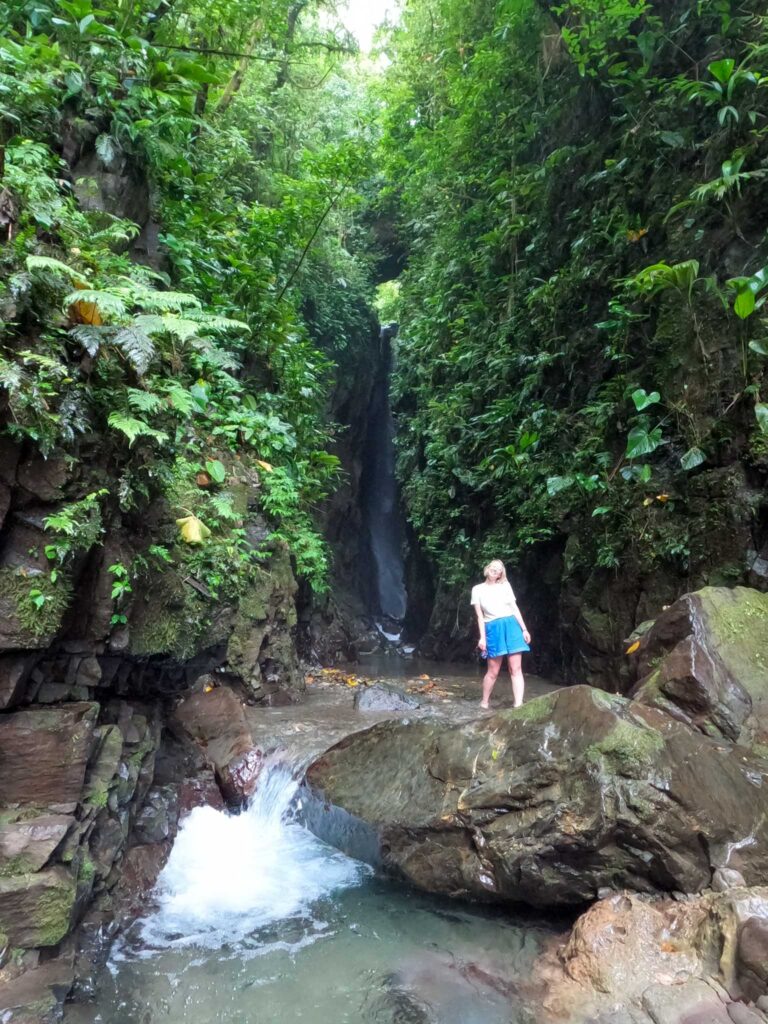
Approaching the waterfall
WHAT TO PACK AND WHAT TO WEAR TO CELESTINE WATERFALL
You should wear:
- Shoes you don’t mind getting wet: I swear by my trusty Teva sandals but you could also just as easily go barefoot.
- Something to swim in: You will get wet. There’s no avoiding it. So be prepared.
- A packable towel: To dry off after the inevitable happens.
You should pack:
- Water and a snack: In case you get stuck waiting for a bus like we did
- A dry bag: to keep your clothes dry whilst you paddle and wade to the waterfall
- A waterproof camera: for all those epic waterfall shots!
WOULD I RECOMMEND CELESTINE WATERFALL?
Absolutely.
The waterfall itself is stunning, and super unusual compared to the turquoise waters usually found in Panama and Costa Rica. It’s a great half-day trip from Lost and Found Hostel.
And, it should cost you less than $5 USD to get the bus there and back, making it a great option for those on a budget.
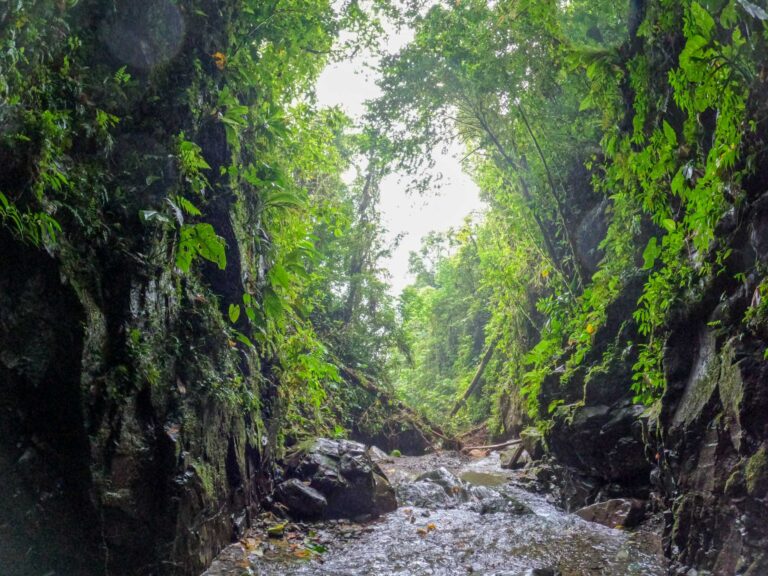
The ‘trail’
WAIT, WHAT IS LOST AND FOUND HOSTEL?
Lost and Found Hostel is quite possibly my favourite hostel in Central America.
You have to get off the bus in the middle of nowhere and hike for 15 mins, with all your luggage, through a thick jungle. Eventually you’ll arrive at the most fun, colourful, eco-friendly jungle hostel with amazing views, hammocks and hummingbirds!
Once you arrive, there’s so much to do. Budget-friendly activities (under $5 USD per person) include this, the Celestine Waterfalls Hike, but also a ‘four waterfalls’ hike, the nearby Gualaca River Canyon, and an epic ‘Indiana Jones’ scavenger hunt organised by the hostel. If you want to splash the cash, the hostel can organise tours in the area too.
We think the Lost and Found Hostel is a must-do in Panama if you’re travelling between Boquete and David (or even if you’re not, make the detour anyway!) You’ll never want to leave!
OUR FAVOURITE PLACES TO EXPLORE IN PANAMA:
Heading to Panama? You’re going to want to check out these resources or head to our Panama archive for all our tips, tricks, and guides
- Just arrived in Panama City? Here’s how to get around this crazy metropolis.
- Oh, and you’ll definitely want to see the Panama Canal for free, saving yourself $20 USD
- Here’s your ULTIMATE guide to the San Blas Islands…
- … and if you’re having trouble choosing, here’s how to pick the best San Blas Island for you
- Find out how much Spanish you’ll need to navigate Panama here.
- Heading to Costa Rica? Here’s how to provide proof of onward travel, without having to book a flight you don’t need.
LIKE IT? PIN IT!
SAVE THIS POST TO YOUR PINTEREST BOARD TO COME BACK LATER
Follow our daily adventures on Facebook and Instagram
Disclaimer: The information and advice provided in this blog are the author’s opinions and based on their personal experiences. All information was accurate at the time of writing. However, things can change quickly, so always double-check current conditions and guidelines before setting out. Remember, your travels and safety are your own responsibility, and this blog can not be held responsible for anything that might happen on your adventures! Always exercise caution and good judgment. Oh, and don’t forget to get travel insurance! Happy travels!
This post may contain affiliate links (yay for transparency!) This means that I will earn a small commission, at no additional cost to you, if you click the link and choose to buy the product. I only link to stuff I have personally bought and found useful and never endorse crap. Your support helps keep the site going, thank you!
Alice
Alice is a UK travel blogger who advocates sustainable travel and being more eco-conscious on a budget. She loves coffee, her houseplants and summiting mountains.
You May Also Like

The Five Best Places to see the Panama Canal for Free [2024]
February 17, 2024
Getting your SCUBA diving Open Water Certification on a budget: the ULTIMATE guide for savvy travellers
August 17, 2024